Growing thyme from seed is a rewarding experience that allows gardeners to cultivate this aromatic herb with ease. Whether you’re an experienced gardener or a novice, understanding the right techniques and conditions for germination will help you achieve lush thyme plants in no time. This guide will walk you through the essential steps and tips, ensuring that your thyme not only thrives but also enhances your home cooking with its unique flavor.
Understanding Thyme
Thyme is a versatile herb that plays a crucial role in culinary applications, providing aromatic flavors and potential health benefits. Among the most common varieties are English thyme, lemon thyme, and creeping thyme, each sporting unique tastes suitable for various dishes. The herb is celebrated not only for its delightful aroma but also for its nutritional profile. Rich in antioxidants, vitamins C and A, thyme may support immune function and overall health. It’s commonly included in Mediterranean cuisine, enhancing dishes like stews, roasts, and marinades. By cultivating thyme at home, you can enjoy fresh herbs while potentially reaping health benefits. So, consider growing thyme from seed to elevate your cooking experience.
Types of Thyme
The most popular types include English thyme, lemon thyme, and creeping thyme, each offering unique flavor profiles.
Nutritional Benefits of Thyme
Thyme is rich in vitamins C and A, and features powerful antioxidants that may enhance immune health.
Common Uses in Cooking
This versatile herb is essential in Mediterranean dishes, perfect for stews, meats, and marinades.

Preparing for Planting
When preparing for planting, the first step is ensuring you have the right soil. Thyme thrives in well-draining, sandy loam soil. Mixing in organic matter can enhance drainage and provide essential nutrients. Next, selecting quality seeds is crucial; opt for a reputable source to ensure high germination rates. Finally, timing your planting is vital. Ideally, sow thyme seeds indoors 6-8 weeks before the last frost or directly in the garden when temperatures rise to 70°F. With these preparations, you’re set for a flourishing thyme garden!
Choosing the Right Soil
Selecting the proper soil is essential for thyme as it prefers well-draining conditions.
Selecting Seeds
Choose high-quality thyme seeds from reputable suppliers for the best germination.
Optimal Planting Time
Sow seeds indoors 6-8 weeks pre-frost or outdoors when soil temps hit 70°F.

Germination Process
Successful germination of thyme seeds begins with soaking, optimizing temperature, and careful watering. Soaking the seeds for 24 hours enhances moisture absorption, expediting their growth. Ideal temperatures range from 65°F to 75°F, promoting a dynamic germination phase. Ensure seeds receive adequate light post-germination, as thyme prefers bright, indirect sunlight. For watering, moisture must be balanced; too much water can lead to rot while insufficient hydration stunts growth. Consistent, gentle watering is key to maintaining an optimal environment for thriving thyme.
By following these steps, you’ll be on your way to successfully growing thyme from seed, resulting in a robust herb garden capable of enhancing any culinary experience. Ready to elevate your gardening game? Start your thyme seed journey today!
Soaking Seeds
Soak seeds for 24 hours for maximum hydration.
Ideal Temperature and Light Conditions
Maintain temperatures of 65°F to 75°F with good light.
Watering Techniques
Water gently to maintain consistent moisture.

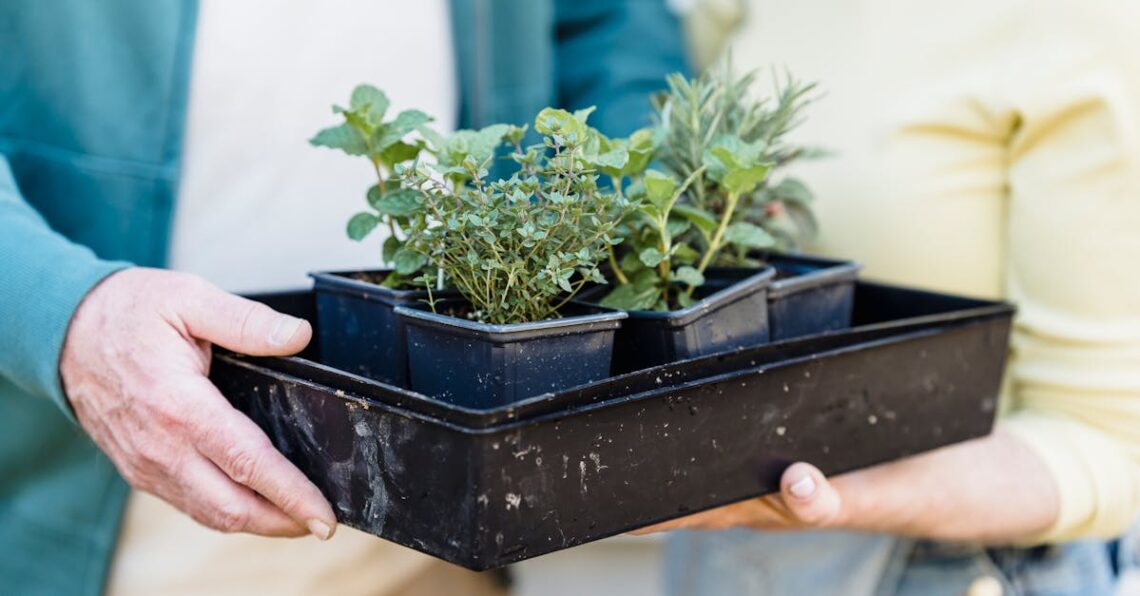
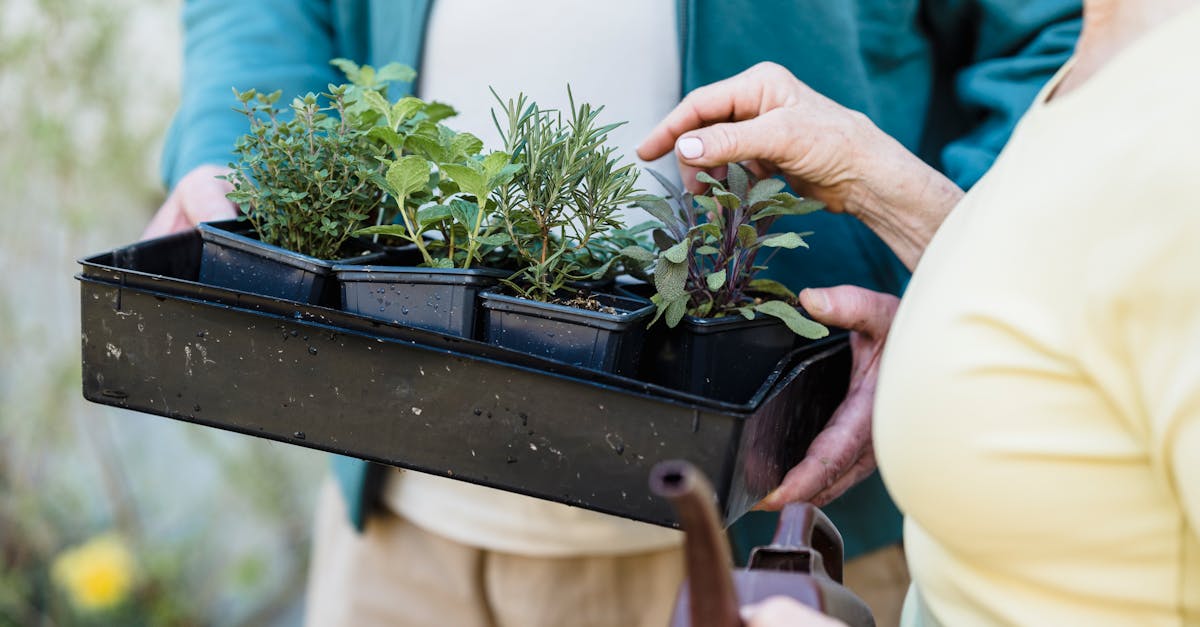
Transplanting Thyme
Transplanting thyme is a crucial step in your herb gardening journey. Ideally, you should transplant your thyme seedlings when they have at least two sets of true leaves, typically around 4 to 6 weeks after germination. This ensures that the young plants are strong enough to adjust to their new environment. Use well-drained soil and ensure the sunlit spot provides at least 6 to 8 hours of sunlight for optimal growth. Transplant in the early morning or late afternoon to minimize stress on the plants. To ensure success, gently loosen the soil around the seedlings before transferring them and keep their roots intact. Remember, proper aftercare is essential; water them well after transplanting and monitor moisture levels closely as they establish. Incorporating these techniques will lead to thriving thyme plants.
When to Transplant
Transplant thyme seedlings when they reach 4-6 weeks old and have a couple of true leaves.
Transplanting Techniques
Use well-drained soil, transplant during cooler times, and keep roots intact.
Aftercare for Transplanted Thyme
Water well and monitor moisture to help establish the plants.

Caring for Thyme Plants
Caring for thyme plants is crucial for thriving growth and robust flavor. Begin with moderate watering; thyme prefers drier conditions, so water only when the top inch of soil is dry. Overwatering can lead to root rot, making it essential to strike a balance. Additionally, fertilization should be minimal; a light feeding with a balanced fertilizer once in spring can boost growth. Regularly inspect your thyme for pests like aphids and spider mites. Introducing beneficial insects or using organic pesticides can help manage these threats effectively, ensuring healthy thyme plants. By adhering to these care guidelines, you can nurture your thyme to reach its fullest potential.
Watering Requirements
Thyme prefers well-drained soil and moderate watering. Allow the top inch to dry before re-watering.
Fertilization Tips
Use a balanced fertilizer sparingly once in early spring for optimal growth.
Pest and Disease Management
Inspect for pests and use organic methods to control them, keeping your thyme healthy.
Harvesting Thyme
Harvesting thyme at the right time ensures optimal flavor and quality. Generally, you should harvest thyme just before it begins to flower, typically in late spring or early summer. This is when its essential oils are most concentrated, enhancing its aromatic profile. To effectively gather thyme, use clean, sharp scissors or pruning shears, cutting stems just above the leaves. This method promotes new growth, allowing for continuous harvest throughout the season. After gathering, use the fresh leaves immediately or for longer preservation, dry them by hanging stems upside down in a dark, well-ventilated area. Properly stored dried thyme can retain its potency for several months, making it a versatile spice for your kitchen.
When to Harvest
Harvest thyme just before flowering for best flavor.
Best Harvesting Techniques
Use sharp scissors to cut stems above leaves.
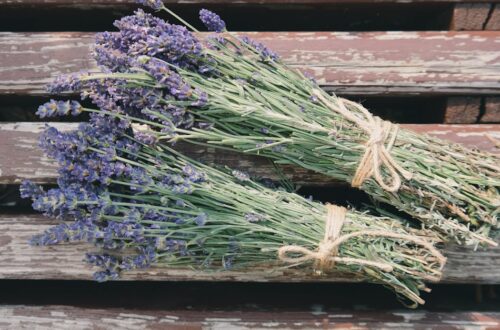
Storing Thyme
Dry thyme by hanging in a dark place.

Frequently Asked Questions
When growing thyme from seed, patience is key as germination can take 14 to 28 days, depending on the variety and environmental conditions. Ensure consistent moisture and warmth to promote successful growth. Utilizing a light soil mix can enhance the germination process, providing optimal conditions for your thyme seeds. Once the seedlings appear, they’re ready for careful handling to transplant them to larger pots. Monitoring the light exposure helps in strong, healthy plant development. By understanding the growth cycle, you can maximize your yield and enjoy fresh thyme in your culinary endeavors.
How Long Does It Take to Germinate?
Thyme seeds typically germinate within 14 to 28 days. Keeping the soil warm and consistently moist improves success rates.
Can Thyme Grow Indoors?
Yes, thyme can thrive indoors if provided with sufficient sunlight, ideally about 6-8 hours a day.
What are Common Problems in Growing Thyme?
Common issues include overwatering and insufficient sunlight, which can hinder growth and lead to root rot.

Conclusion
In conclusion, growing thyme from seed can be a fulfilling and simple process if you follow the right steps and maintain adequate care. Whether you plan to use the thyme in cooking or simply enjoy its fragrance, this herb offers numerous benefits and joys to its gardener.