If you’re looking to cultivate fresh greens year-round, growing kale indoors offers a sustainable solution for health-conscious individuals and culinary enthusiasts alike. Kale, recognized for its nutritional value, is not only versatile in cooking but can be easily nurtured in indoor conditions. This complete guide walks you through the essential steps to ensure your indoor kale thrives successfully and continuously provides you with fresh, delicious leaves.
Understanding Kale Varieties
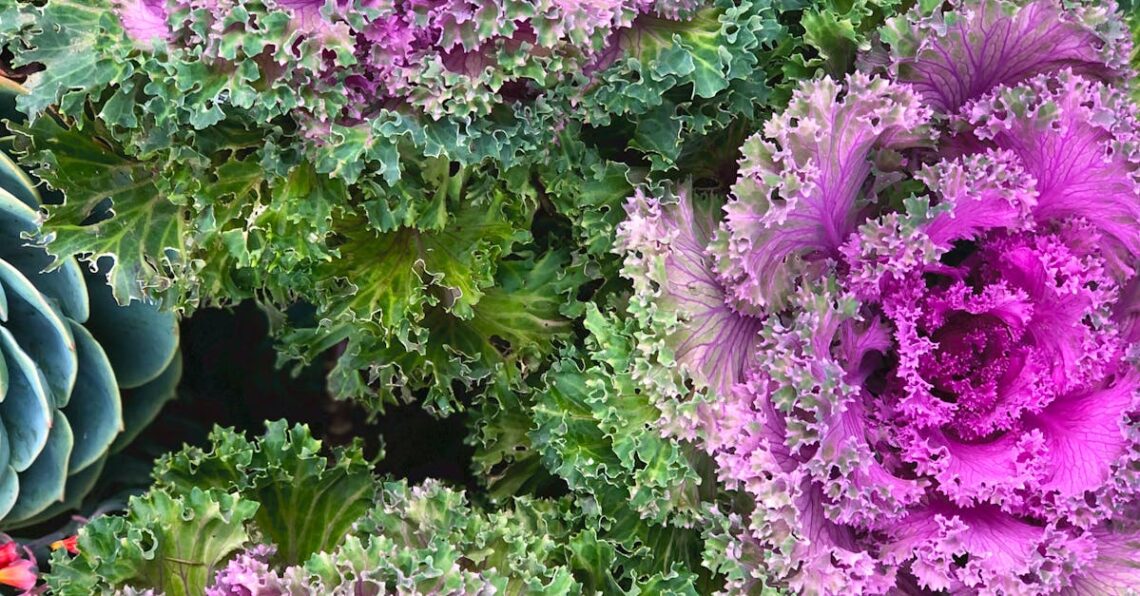
Kale is a versatile and nutritious green, with several popular varieties thriving indoors. Curly kale is often favored for its frilled leaves and robust flavor, making it great for salads and garnishes. Lacinato kale, also known as dinosaur kale, features long, dark green leaves that are tender and slightly sweet. This variety is excellent for cooking, especially in stir-fries or soups. Lastly, Red Russian kale adds a splash of color to any indoor garden with its purple-veined leaves. It has a mild flavor that’s perfect for fresh dishes. For those interested in growing kale indoors, each of these varieties offers unique tastes and textures, enriching any indoor harvest while promoting healthy eating habits.
Curly Kale
Curly kale has a distinctive frilled leaf, popular in salads.
Lacinato Kale
Lacinato kale, known as dinosaur kale, is tender and sweet.
Red Russian Kale
Red Russian kale features purple veins, adding color to dishes.

Essential Supplies for Indoor Kale Cultivation
To successfully grow kale indoors, you’ll need specific supplies. Start with containers that have adequate drainage and size for the plants to thrive. A minimalist 6-8 inch pot is ideal for seedlings, while larger containers suited for adults reaching 12-18 inches work better as they mature. Next, select a nutrient-rich soil with good drainage—mix potting soil with perlite for optimal aeration. Kale prefers a pH level of 6.0 to 7.0. Lastly, lighting is crucial; a full-spectrum LED grow light offers the perfect spectrum for growth, ideally providing 12-14 hours of light daily. With these essentials, you’re well on your way to successful indoor gardening!
Choosing the Right Containers
Containers should allow for proper drainage. Opt for pots between 6-8 inches for seedlings and 12-18 inches for mature plants.
Soil Requirements
Use nutrient-rich soil with good drainage; consider mixing potting soil with perlite for enhanced aeration.
Lighting Options
Full-spectrum LED grow lights are ideal, providing 12-14 hours of light to facilitate healthy growth.

Planting Kale Seeds
Planting kale seeds requires careful timing and technique for optimal growth. Ideally, you should sow kale seeds indoors about 4-6 weeks before the last frost. This promotes healthy seedlings that can transition to outdoor environments smoothly. If you’re considering growing kale indoors, ensure they have plenty of light—around 12-14 hours daily. For thriving kale plants, space seeds approximately 12-18 inches apart to allow ample room for growth and air circulation. Proper spacing prevents overcrowding, reducing the risk of diseases and pests that can stunt growth or damage plants.
When to Sow Seeds
Sow your seeds indoors about 4-6 weeks before the last expected frost. This timing allows seedlings to develop before being transplanted outdoors, maximizing their growth potential.
Seed Depth and Spacing
Plant the seeds at a depth of 1/2 inch, with spacing of 12-18 inches apart. This spacing is crucial for healthy aeration and preventing overcrowding.

Watering and Nutrient Needs
Proper watering and nourishment are crucial for thriving kale plants indoors. Kale requires consistent moisture; therefore, watering should be done when the top inch of soil feels dry. Typically, this equates to every 4–7 days, depending on humidity and temperature in your home. Over-watering can lead to root rot, so it’s vital to ensure proper drainage.
In addition to water, fertilizing is essential for promoting healthy growth. Apply a balanced, water-soluble fertilizer every 4–6 weeks to provide necessary nutrients. During the growing season, consider using a nutrient-rich compost for additional support. By meeting these watering and nutrient needs, your kale can flourish indoors, yielding vibrant and delicious leaves.
Watering Frequency
Kale should be watered when the top inch of soil is dry, usually every 4–7 days.
Fertilizing Kale
Use a balanced, water-soluble fertilizer every 4–6 weeks for optimum growth.

Maintaining Ideal Growing Conditions
To successfully grow kale indoors, maintaining ideal conditions is critical. Kale thrives in temperatures between 65°F to 75°F, so ensure the room is consistently warm. Additionally, humidity levels should ideally hover around 40-70%, which can be achieved with a humidifier or by placing water trays near plants. This promotes healthy growth and prevents diseases.
Consider using supplemental lighting if natural sunlight is insufficient—kale needs about 12-14 hours of light per day to flourish. Regularly monitoring these conditions will help you achieve a bountiful indoor harvest. To further enhance your success, take proactive measures in pest management by inspecting your plants for signs of infestations regularly. This vigilance keeps your kale healthy and productive.
Temperature and Humidity Control
Ensure your indoor environment maintains temperatures between 65°F and 75°F and humidity of 40-70%.
Pest Management
Regularly inspect your kale for pests, implementing control measures to ensure healthy growth.

Harvesting Your Kale
Harvesting kale at the right time is crucial for optimal taste and nutrition. Typically, kale can be harvested about 55 to 75 days after planting, depending on the variety. Look for vibrant, firm leaves with a mature size; these are indicators that your kale is ready. For an extended harvest, consider cutting the leaves from the outer portions, allowing the inner leaves to grow further. Regularly checking your plants helps identify the perfect window for harvest, enhancing the flavor and the number of greens you can gather.
When to Harvest
Kale is best harvested when the leaves are young and tender, usually after the first frost. Cooler temperatures improve the flavor, making winter a prime time for kale collection.
How to Harvest Without Damaging Plants
To harvest kale without harming the plant, use sharp scissors or shears. Cut leaves at their base, making sure not to disturb the main stem. This method ensures your kale continues to produce abundantly.

Troubleshooting Common Issues
Growing kale indoors can sometimes present challenges. Yellowing leaves are often a sign of nutrient deficiencies or improper watering. Ensure your kale is receiving adequate light and nutrients. A balanced fertilizer can help revive your plants. Meanwhile, stunted growth can indicate root-bound conditions or insufficient light. Providing a larger pot or relocating your kale to a sunnier spot may encourage healthier growth. If you’re facing these issues, be proactive to ensure your kale thrives in your indoor garden. Maintaining an appropriate environment is crucial for a fruitful harvest. Regular monitoring of your plants allows for timely intervention, enhancing productivity and health.
Yellowing Leaves
Yellowing leaves in indoor kale usually signal nutrient problems or overwatering. Adjust your watering schedule and consider incorporating a fertilizer.
Stunted Growth
Stunted growth may occur due to crowded roots or inadequate lighting. You might need to repot the kale or shift it to a better-lit area.

Conclusion
Growing kale indoors can be a rewarding experience that not only enhances your cooking but also contributes to a healthier lifestyle. By following the comprehensive steps outlined in this guide, you’ll be well on your way to successfully growing kale indoors all year long.