
Dill seedlings are a delightful addition to any herb garden, offering both culinary and aromatic benefits. Known for their feathery leaves and distinct flavor, these seedlings are not only easy to grow but also to care for. This guide will walk you through essential techniques and best practices to ensure your dill thrives, from choosing the right location to managing watering and pests. Embrace the joy of gardening as you cultivate fresh dill that will elevate your dishes and fill your garden with life.
Understanding Dill Seedlings
Dill seedlings are the young plants that emerge from dill seeds, an aromatic herb prized in culinary applications and traditional medicine. They thrive in well-drained soil with plenty of sunlight, making them an ideal choice for home gardens. Starting your growing journey with dill seedlings is beneficial as they can enhance the flavor of dishes while attracting beneficial insects, which naturally aids your garden’s ecosystem. Did you know that dill is a rich source of antioxidants? By cultivating dill seedlings, you not only enjoy its delightful taste but also contribute to a healthy lifestyle. If you’re eager to enrich your garden, consider introducing dill seedlings for a vibrant and flavorful addition!
What are Dill Seedlings?
Dill seedlings are young plants that develop from dill seeds, showcasing delicate feathery leaves.
Benefits of Growing Dill
Growing dill provides culinary benefits and attracts pollinators, contributing to a healthy garden.

Preparation Before Planting
Before you plant your dill seedlings, proper preparation is essential. First, selecting the right location is crucial, as dill thrives in full sunlight with at least 6-8 hours of direct sunlight daily. Choose a spot that is well-drained to prevent waterlogging, which can harm the delicate roots. Furthermore, understanding soil requirements is vital. Dill prefers sandy or loamy soils with a pH of 6.0 to 7.0. To enrich the soil, incorporate organic matter like compost, providing essential nutrients for healthy growth. This foundation sets the stage for a flourishing dill crop, offering vibrant flavor and fragrance for your culinary creations. Are you ready to transform your garden with these aromatic additions?
Selecting the Right Location
Dill requires a sunny, well-drained area for optimal growth.
Soil Requirements
Use sandy or loamy soil enriched with compost for best results.

Planting Dill Seedlings
Planting dill seedlings can be a rewarding experience, enhancing your garden and culinary adventures. For optimal growth, consider planting during spring or early summer when temperatures are consistently warm. Dill thrives in well-drained soil with plenty of sunlight. Before planting, prepare the bed by loosening the soil and incorporating organic matter. When sowing dill seeds, space them approximately 12 inches apart to allow for their mature size. Tip: a light covering of soil helps protect the seeds from pests while promoting germination. By focusing on these factors, your dill seedlings will flourish, providing aromatic herbs for your kitchen.
Optimal Planting Time
The best time to plant dill is after the last frost, usually in spring. This timing allows the seedlings to establish before the heat of summer.
How to Plant Dill Seeds
Dill seeds should be sown ¼ inch deep in prepared soil. Water gently post-planting to ensure seed contact with the soil.

Care for Dill Seedlings
Dill seedlings require consistent watering to thrive. It is essential to keep the soil moist but not waterlogged, as this can lead to root rot. A good practice is to water deeply once or twice a week, depending on weather conditions. Using a soil moisture meter can help gauge when it’s time to water. Additionally, providing adequate sunlight is crucial. Dill prefers full sun, which means at least 6-8 hours of direct sunlight each day. Optimal temperatures for growth range from 60 to 70°F (15 to 21°C). If you maintain these conditions, your dill seedlings will flourish and yield a bountiful harvest!
Watering Guidelines
To ensure healthy growth, water dill seedlings deeply once or twice a week to keep the soil consistently moist.
Sunlight and Temperature Needs
Dill seedlings thrive in full sun with temperatures between 60 to 70°F for optimal growth.

Pest and Disease Management
Managing pests and diseases is crucial for healthy dill seedlings. Common pests like aphids and spider mites thrive in damp conditions, posing risks to your plants. To mitigate these pests, consider using insecticidal soap or introducing beneficial insects like ladybugs. Regularly inspect your dill for signs of infestation to ensure early intervention.
Prevention is the best approach to managing diseases. Maintain adequate spacing between seedlings to promote air circulation and reduce humidity, which can lead to fungal infections. Additionally, rotating crops annually can disrupt the life cycles of soil-borne pathogens, promoting a healthier growing environment.
Common Pests to Watch Out For
Aphids and spider mites are the most common pests affecting dill. They can be identified by their tiny size and the damage they cause through sap extraction.
Preventing Diseases
To prevent diseases, ensure proper air circulation and rotate crops annually to minimize soil-borne pathogens.

Harvesting Dill
Harvesting dill is a crucial step that ensures peak flavor and freshness for your culinary uses. Generally, you can start harvesting dill seedlings when they are at least 6 inches tall, which usually occurs about 6 to 8 weeks after planting. The leaves should be bright green and lush, indicating that they are ready for picking. Regular harvesting encourages further growth, making your dill bushier and more productive. Aim to harvest in the morning, as this is when essential oils are most concentrated, enhancing the flavor of your culinary dishes. Remember to leave some foliage behind to support the ongoing growth of the plant for future harvesting.
When to Harvest Dill
The best time to harvest dill is once the plant reaches 6 inches in height, typically around 6 to 8 weeks after planting. Harvest when the leaves are vibrant and healthy.
How to Harvest and Store
Use scissors to snip the leaves and stems, allowing some foliage to remain. The harvested dill can be stored in the refrigerator wrapped in a damp paper towel or preserved by freezing.

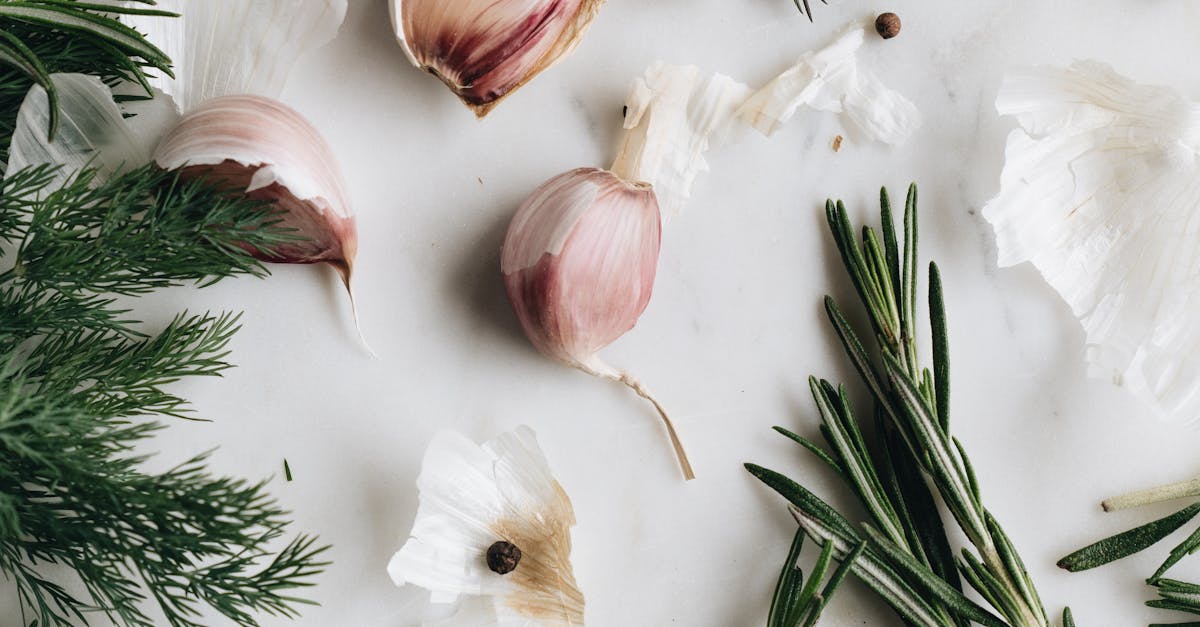
Cooking with Dill
Cooking with dill adds a vibrant flavor to a variety of dishes. Dill is commonly used in recipes like pickles, potato salads, and seafood dishes, where its fresh taste complements the savory ingredients. For an easy dill sauce, blend yogurt with chopped dill, lemon juice, and garlic, perfect for drizzling over grilled fish. In fact, studies show that incorporating herbs like dill can enhance not just flavor, but also nutritional value, enriching meals with antioxidants. Explore these delightful recipes to elevate your cooking game! Don’t miss out on trying new combinations; get creative with dill and let your culinary skills shine!
Popular Recipes Featuring Dill
Some favorite dishes incorporating dill include pickled cucumbers, creamy dill potato salad, and grilled salmon with dill sauce. Each recipe unleashes the aromatic charm of dill, making meals more enjoyable.
Storing and Preserving
To extend the life of fresh dill, consider drying it or freezing chopped dill in ice cube trays with water. This way, you can enjoy the herb’s flavor year-round.
Conclusion
In conclusion, cultivating dill seedlings can be a rewarding experience for both novice and experienced gardeners alike. By following the guidelines presented in this guide, you’ll be well on your way to growing healthy and productive dill seedlings that enhance your culinary creations.